
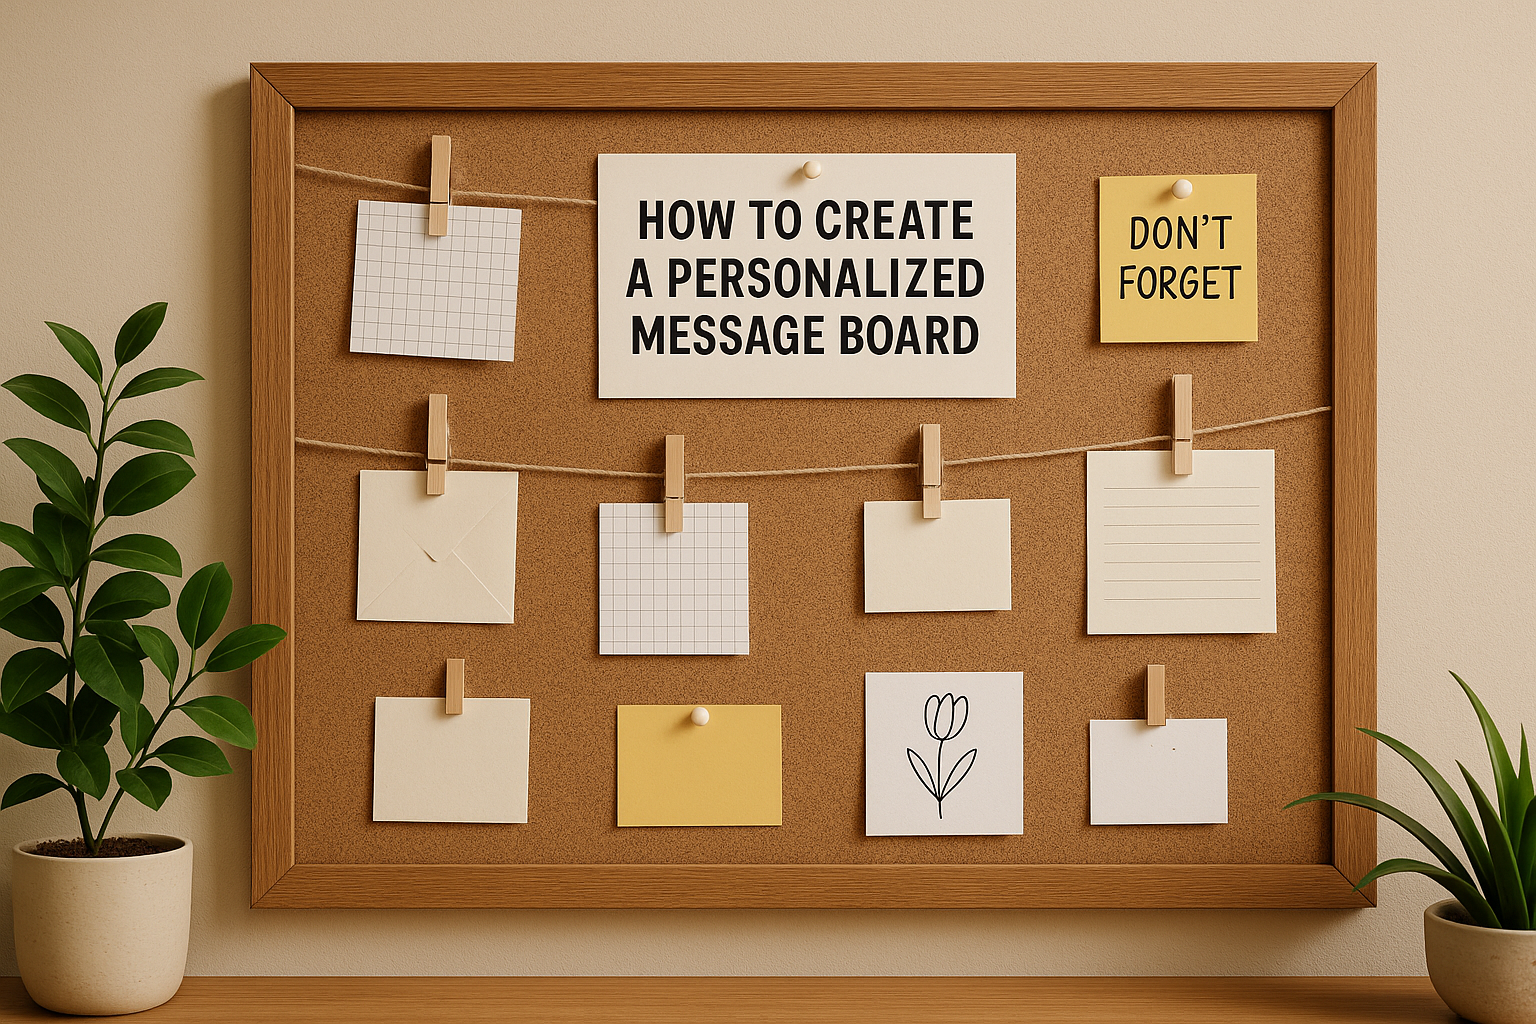
Keeping track of reminders, notes, and motivational quotes can be both functional and stylish. A personalized message board is a great DIY decor project that not only helps you stay organized but also adds a creative touch to your home. Whether you’re working with a corkboard, magnetic board, wire grid, or upcycled materials, this guide will walk you through the steps of making a unique message board that reflects your personal style.
Why Make Your Own Message Board?
Creating your own message board gives you complete control over the size, design, materials, and function. Instead of settling for generic store-bought options, a DIY board can fit perfectly into your existing decor while serving the exact purpose you need—be it for home, office, kitchen, or a child’s room.
Here are a few benefits:
- Save money by using affordable or recycled materials
- Match your board with your home decor theme
- Add functionality tailored to your daily routine
- Explore a fun and rewarding creative project
Choose the Right Type of Board for Your Needs
Before you begin, decide what type of message board best suits your space and lifestyle. Some popular types include:
Corkboard
Great for pinning notes, to-do lists, or photos with thumbtacks. It offers a traditional and rustic look.
Magnetic Board
Useful for magnets and dry-erase markers. These can double as writing surfaces and magnetic pin boards.
Wire Grid Board
Stylish and modern, perfect for hanging clips, lights, or small baskets. This is popular in minimalist or industrial-style homes.
Chalkboard or Whiteboard
Ideal for writing and erasing messages or reminders frequently. Great for kitchens or family rooms.
Upcycled Materials
Consider using an old frame, baking sheet, or window shutter as the base for your board—eco-friendly and budget-conscious.
Materials You’ll Need
Here’s a general list of supplies you might need, depending on the board type you choose:
- Base material (corkboard, metal sheet, wire grid, etc.)
- Frame (optional but recommended for a polished look)
- Fabric or decorative paper
- Glue gun or spray adhesive
- Paint and brushes (for customization)
- Decorative pins, magnets, or clips
- Scissors and utility knife
- Ruler or measuring tape
- Hanging hardware or command strips
Step-by-Step Guide to Creating Your Board
Let’s walk through how to make a basic corkboard-style message board with customization options:
Step 1: Prepare Your Base
If you’re using cork or cardboard as your base, cut it to your desired size using a utility knife and ruler. Make sure it’s clean and smooth before applying any decoration.
Step 2: Wrap It in Fabric or Paper
To add style, wrap your board in decorative fabric or patterned paper. Stretch the fabric tightly and glue it securely to the back using a hot glue gun or adhesive spray.
Step 3: Frame It
Place your board into a picture frame for a cleaner, more finished look. You can paint the frame beforehand to match your interior design.
Step 4: Add Functional Features
Depending on your style and usage, consider adding:
- Pockets or envelopes for papers
- Clips for holding notes or photos
- A small calendar section
- Decorative buttons or ribbons
Step 5: Hang It Up
Use wall hooks, nails, or command strips to mount your board where it will be most useful. Make sure it’s easily accessible and at eye level.
Creative Variations to Try
Want something different? Here are a few alternatives:
Pegboard Message Board
Drill holes into a wooden board or buy a pre-made pegboard. Add hooks, cups, or mini shelves to hold supplies and notes.
Magnetic Paint Board
Paint a wall section with magnetic paint and frame it with wood trim. This is perfect for a sleek, built-in board.
Rustic Wood Plank Board
Use reclaimed wood planks to create a rustic board with string lights and clothespins to hang messages.
Grid Panel Board
Use a metal grid panel from a hardware store. Spray-paint it in gold or black and use clips to hang papers, polaroids, or stationery.
Where to Use Your Message Board
The versatility of a personalized message board means it can be used in many parts of your home:
- Home Office: Track tasks, deadlines, or inspiration
- Kitchen: Display grocery lists, meal plans, or family messages
- Bedroom: Pin photos, quotes, or reminders
- Kids’ Room: Add a playful board for drawings, notes, or schedules
- Entryway: Share reminders and outgoing mail
Maintenance and Styling Tips
Keep your message board fresh and functional with these tips:
- Regularly remove outdated notes
- Wipe clean (if using magnetic or dry-erase surfaces)
- Rotate photos and inspirational quotes for visual interest
- Change decorative elements seasonally or for special occasions
- Use color-coded pins or clips to organize different categories
The Final Touch for Your Space
A personalized message board is more than just a practical addition to your home—it’s an opportunity to express your creativity while improving your daily organization. With just a few simple tools and materials, you can transform a blank wall into a stylish communication hub.
Whether you’re updating your workspace or adding charm to your living room, a DIY message board is a fun project that pays off in functionality and style.